

These sets of response cards are great for quick assessments and quick activity groupings & transitions.
“Students learn best when they are actively engaged in learning relevant instructional material” (Bost & Riccomini, 2006). Response cards give teachers a way to quickly assess of understanding in their classroom be it individual, small group or the whole class. Christle and Schuster (2003) discussed that teachers provided more feedback, clarification and reteaching/modification to increase/improve a student’s understanding when students used response cards. Gardener et. al. (1994) found that when response cards were used, student responses were increased, quiz scores improved and students preferred response cards to hand raising. Also found was that the percentage of review and respond check points increased to almost 15 times more than hand raising and calling on one student at a time. Finally, Gardner et.al. (1994) also reported that students had more fun and were less frustrated about not being called upon. Reluctant students are less threatened and freer to participate.
Access the templates for the Response Cards: student and teacher versions below. There are several files: student sets, teacher sets and available in English and Spanish.
Note: We like using Response Cards, but whole-heartedly insist that Response Cards are only a starter and quick assessment device. See below for instructions on creating your sets, using them with your students. Se disponible en español también.
How to Make
The Cards: Students’
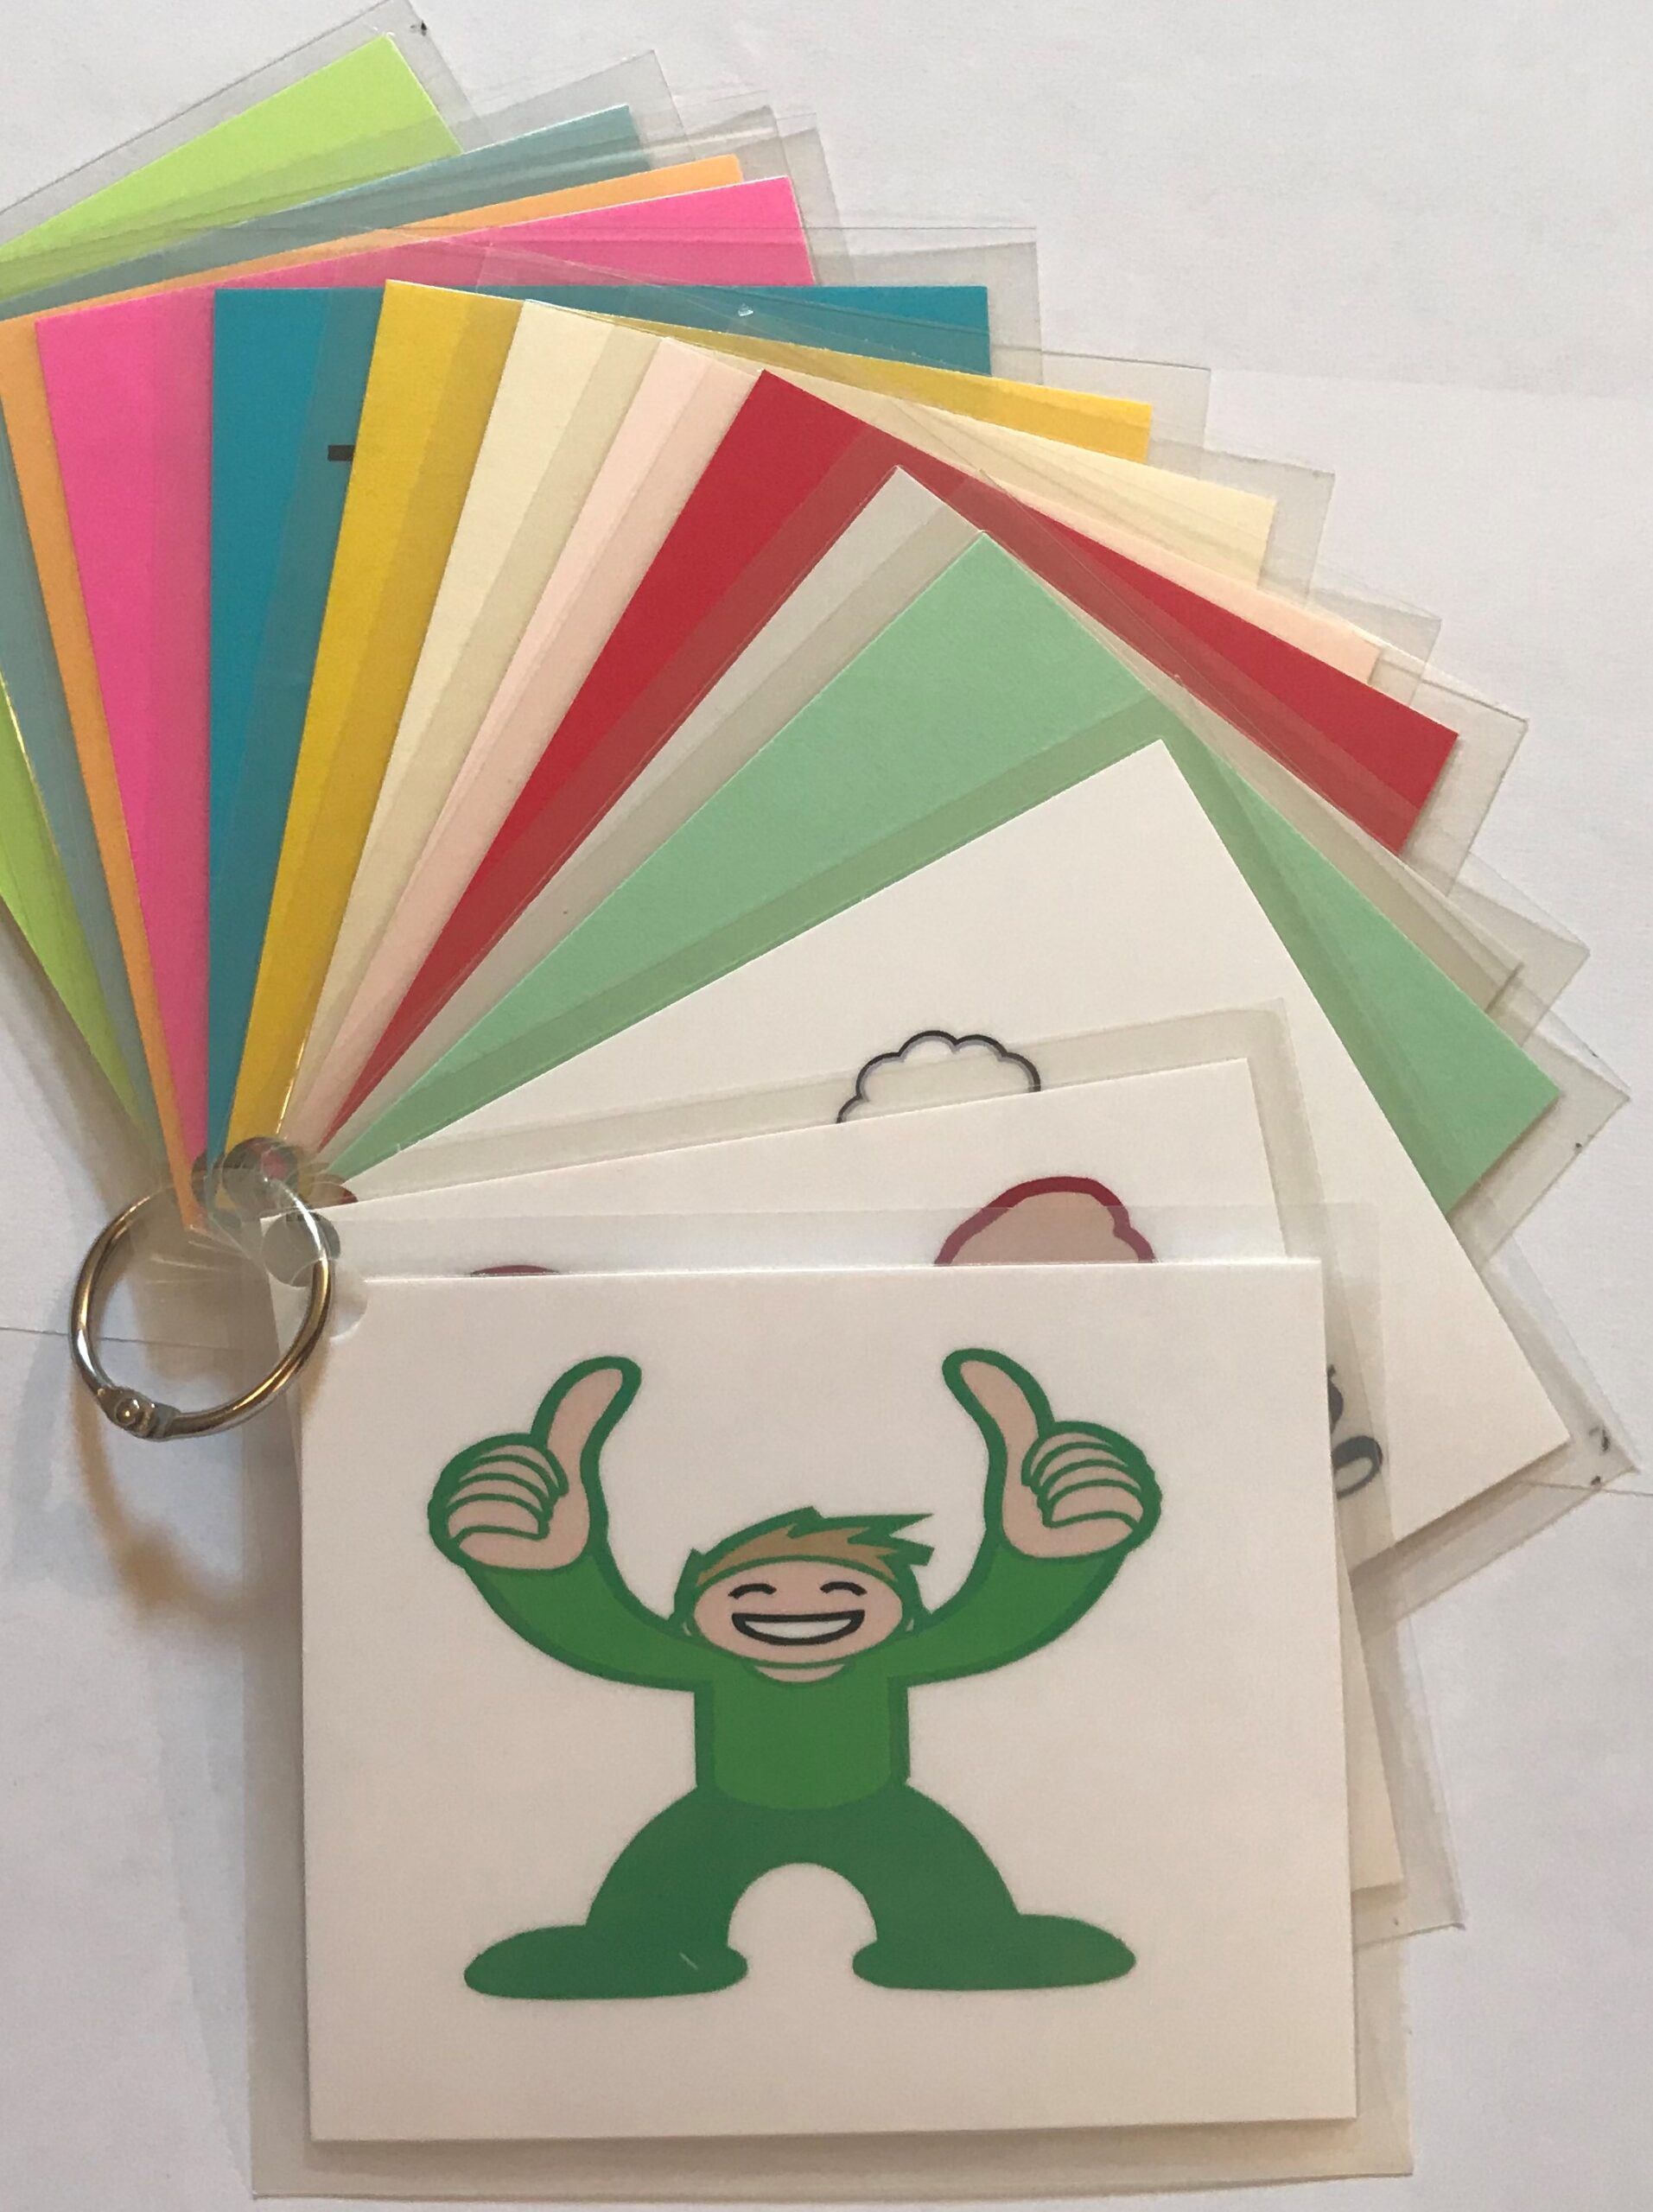
You will need the following supplies for a classroom set of 25 Response Card sets. 18 sheets of white card stock and 7 each of 11 different colors—plain colored copy paper works but cards are not as durable and construction paper doesn’t always cooperate in the copy machine—a laminator, scissors, paper cutter and 28 ea 1” loose-leaf rings.
Below is the links for the pdf templates and the cardstock colors we used. The student sets templates have 6 cards per page. The teacher version is larger and has 1 card per page. The cards were designed to be an instant informal assessment. Use them individually, in pairs and small groups. Some teachers have made and used them with the A-D, True/False, and Yes/No cards the same colors for each respective group. Their reasoning is that this helps prevent cheating/copying etc. The reasoning behind each card being a different color is speed. If the answer is A (Solar Yellow) and the teacher sees purple and orange too, that item might need to be reviewed. However, if there is only one or two non yellows, the teacher knows who to check with and can move on. Make whichever style works for you.
Notes on the process. Cut the cards BEFORE laminating; they will last longer. Trim laminate closely for a better feel. Punch a hole in the top left corner of the cards (bottom left for the letters). For the teacher’s set: use three loose leaf rings to hold them together or have them spiral bound. Don’t forget the blank “help Please” card. You know, … that obnoxious green one. See pictures above for reference on colors and where to holepunch.
Blank (Terra or Neon Green) No file, just cut the cards to match
The Cards: Teacher’s
Coming soon. Email Shawn if you need them now.